Showing posts with label Cake. Show all posts

Friday, June 15, 2012

Rose and Crown's Guinness Cake

I found this gem of a recipe a few weeks ago, and will admit to being hesitant to trying it. You see, I am not a fan of beer (and yes, I have tried many different types and still prefer other adult beverages), and the idea of mixing chocolate with something I don't really like seemed odd to me. Still, though, I decided that this challenge is all about doing things we normally wouldn't do, while sharing Disney with all of you. I am so happy that I decided to give it a try. I will also include a recipe for a Bailey's frosting that is not from Disney, but couples well with this cake (note, if you are serving this to family and want something non alcoholic, substitute with Bailey's coffee creamer, it works well).


Ingredients: 

1/2 cup unsalted butter
2 1/2 cups brown sugar
6 eggs
2 cups all-purpose flour
1 TB baking powder
1 tsp baking soda
2 cups Guinness Stout
1/2 cup cocoa powder

Frosting:

3 cups of powdered sugar
1 cup (two sticks) of butter
2 teaspoons vanilla
4 tablespoons of Bailey's

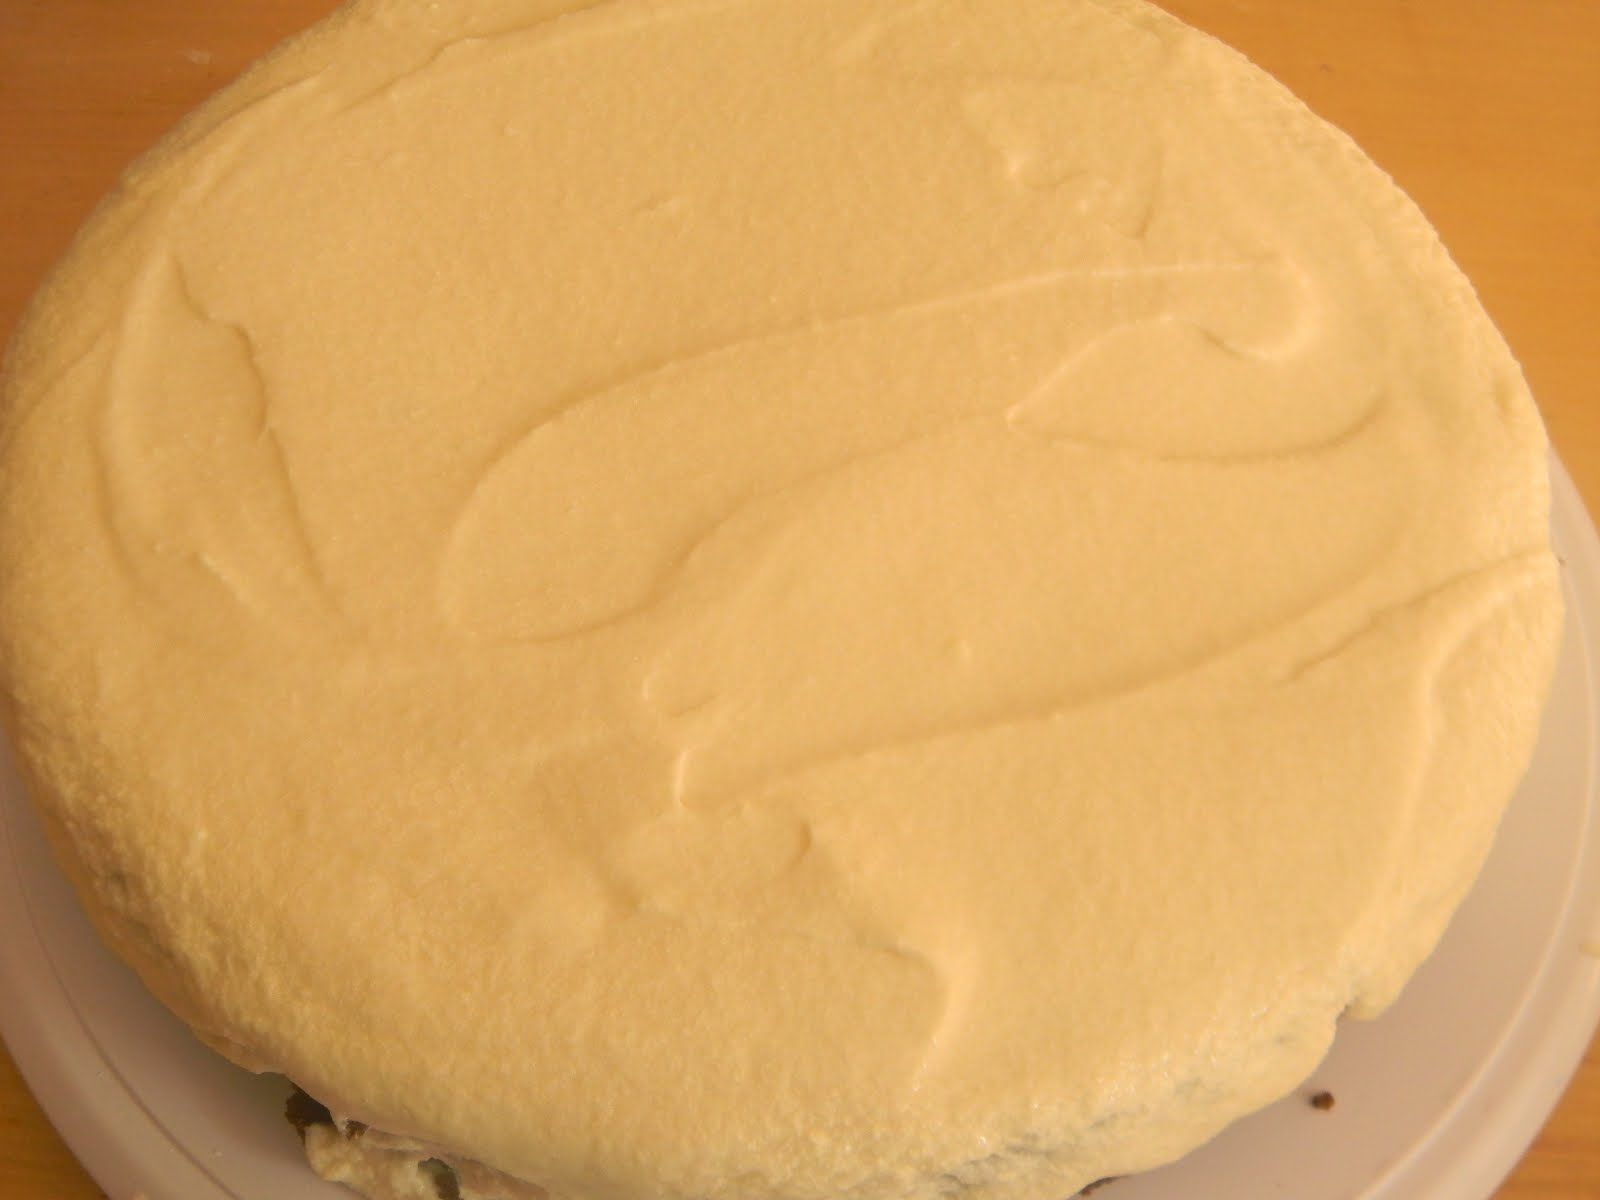
Begin by creaming the butter and sugar together. Gradually add in the eggs, one at a time. In a separate bowl, sift together the flour, baking powder, and baking soda together. In a completely separate bowl stir together the cocoa powder and Guinness. Alternate between adding the flour and Guinness mixture to the mixing bowl. Once done, place in greased cake pans (I used one 10*10) and baking for 1 hour and 30 minutes (it took 1 hour and 8 minutes for me) at 275 degrees. Let sit for 5 minutes on a cooling rack before removing from pan and frosting.
Egg, sugar, and butter
After Guinness has been added
Cake cooling!
Combine all of the frosting ingredients together and mix well - it is best to use a hook instead of whisk for these types of frosting. Spread on cake as desired. 
Combine and mix well
Pour on top of cake
Enjoy!

Please join Krystal tomorrow at www.magicaldismom.com for another magical recipe

Sunday, April 29, 2012

Lilo and Stitch Inspired Gender Reveal Cake

Gender Reveal Cake
Last year, my friend Krystal asked me to make her a cake for a gender reveal party she was having. I happily agreed, and got set designing. She had requested something that seemed like April Showers Bring May Flowers. And, since she's as passionate about Disney as I am, I  knew I needed to incorporate something Disney in the cake. In thinking, I remembered the summer after we first met, and how we went and saw Lilo and Stitch in the theaters several times.

There was a part of the movie where Stitch takes the Ugly Duckling storybook from Lilo, and reads it outside. The image struck a cord with me, so I decided to put the ducks with the flowers (I cannot take credit for the umbrella, that was Krystal's creation) to allude to the story. 

To make this cake, I used three 10*10 rounds for the first tier and three 8*8 rounds for the second tier. Since the cake needed to be colored on the inside, I chose to do vanilla cake mix for the flavor - I did use a cake mix as I needed consistency in the layers, and that can be the easiest, and least time consuming, way to do it - and used a packet of jello for the color. All that needed to be done was mix the cake batter, and at the last minute gradually poor in the jello packet until the desired color is reached: Because the amount of batter to jello is so great, the jello flavor will not come through in the cake! Bake as directed on the box.

For the frosting, get the recipe here and do a crumb coating on the cake - a crumb coat is a decent layer of frosting applied to the whole cake, and then putting the cake in the freezer to seal in the moisture and reduce the amount of loose crumbs. After the cake has sat in the freezer for between 15-20 minutes, remove and carefully apply the rest of the frosting with your cake spatula. Place in the freezer again, and start to work on the fondant.

Wilton sells fondants pre-colored that are very easy to use (if you're trying to get a very deep color, purchasing pre-done can be much simpler than mixing your own), and I purchased a box that had pastelle yellow, green, blue, and pink. I rolled out the colors to about 1/8" thick, and use the Wilton Flower Press to make the large flower (bottom) and small (top). Then, for an extra magical look, use a paint brush and dust on some powder. Once the fondant flowers are done, simply place them on the cake in whatever array you choose (the fondant and frosting do very well fusing together). I will admit that I left a little gender clue on the outside, but placing two pink flowers next to each other in the back!

Now that the cake has been decorated, put the final touch of rubber ducks around the top tier, gently pressing into the side of the cake. In order to make sure that the ducks are secured on the cake, place the cake back into the freezer after the ducks are firmly against the frosting. 

If you are transporting the cake, and it is not going to be well frozen before going into the vehicle, trim and insert dowel rods between each tier. The added cost is worth it knowing that your cake will arrive in one piece!


Monday, April 16, 2012

Buttercream Frosting Perfected

If you're anything like me as a mom and a baker, you're always looking for ways to make treats extra special with ease. Before reading some tips from the one and only Cake Boss, I found it easiest to get my frosting in a can and go from there. Now, I know that there are a few simple things to making the lightest, fluffiest, and tastiest homemade buttercream frosting.

First things first, ingredients:

1 pound of confectioners sugar
1 cup of butter flavored shortening (any shortening works, but this flavor is best)
1 teaspoon vanilla extract (clear works best, but if coloring frosting, any will do)
Milk

Start by sifting your confectioners sugar. This takes about two minutes to do, and will really help alleviate any lumps in the final frosting product. I always try to sift it directly into my mixing bowl. The reason for this is to help get rid of any excess air (more air means heavier frosting).

Sift a full pound of sugar
Sift well
For the next step, use your dough hook instead of whisk for mixing - this is another tip to help keep down the amount of air being mixed into your frosting. Put the dough hook in place prior to setting up your bowl, and then add all ingredients except for the milk. Begin mixing, and little by little add in milk and stop when it as your choice of consistency (I use about 4 teaspoons full. If you're wanting to do more than ice a cake - piping on letters, for example - start out with a teaspoon and then separate batches and add more for whatever else you happen to be doing).

The wonderfully versatile dough hook
Mix well until wanted consistency
Now that the frosting has actually been completed, try adding in a bit of color. Normally, I do this by dipping a toothpick into the color and dragging it through the frosting. For a deeper color, I will remove a chunk of the food coloring and mix on high. Once you are satisfied with the color, put into a piping bag and start making cute designs!
Use about 1/2tsp of color
Finit! 
Tips:
  1. Use butter flavored shortening instead of regular - it really helps with the flavor.
  2. Only use butter if you are simply frosting a cake. The butter taste is wonderful, but very difficult for decorating. This is true even if you decide to make buttercream frosting with butter and use a more stiff frosting for decorations - everything will simply slide.
  3. Sift the confectioners sugar to avoid extra air pockets, and to make sure that there are no clumps in the finished product.
  4. Instead of a regular whisk, use a dough hook to also keep the extra air from getting in. Make sure the dough hook is already in place before setting up your mixing bowl.

Friday, March 30, 2012

Princess Cake


Hello everyone! As Krystal has announced, I will be doing monthly segments teaching all of you how to make your baking creations a little more Disney like. This is meant for the inexperienced/average baker, and is not at an intermediate level. Before each segment I will make sure to include a list of tools that are used, and then ingredients for each part of whatever is being baked.


Let me just say that I take the Julie Child's approach to everything I do: Things are rarely perfect in the baking world (at least that's true if you're not a professional), but never ever make an apology for it. Your time and effort went into that creation, and deserves applause no matter what the result is. Just take the magic wand and banish any inner guilt over imperfections you alone know are there - I know that's something I have to remind myself every time!


With that being said, thank you for joining me on my new, magical, journey and lets get started!

Tools:
3 cookie cutters (shaped as a crown, slipper, and castle)
1 Wilton flower fondant stamp
1 pick
2 bent Wilton spatulas (one with a slight curve, another with a deep curve)
1 shimmer powder
1 box of Wilton multi colored fondant
1 rolling pin
1 cake stand
1 paint brush
1 10in square pan
1 8in square pan
4 princess dolls (found at Party City for $0.99 each)
Cake:
Funfetti Cake mixes (cake mix instead of making from scratch chosen to make things a little easier, and more economical)
12 eggs
2 cups oil
4 cups water

Filling:
1 package of cream cheese
1/2 pound of powdered sugar
1 chocolate pudding already mixed

Frosting:
1 1/2 pounds of powdered sugar
1 teaspoon of vanilla
1 1/2 cups of shortening
7-8 tablespoons of milk (add more depending on how smooth you want your frosting)